Desktop Call Recorder manual
What each setting does. If you have not installed the app yet, start with the installation guide.
Getting started
If you have not installed Desktop Call Recorder yet, start with the installation guide.
Open Settings from the menu at the top of the main window. Every change is saved as soon as you make it. There is no Save button.
Recording a call
With Auto recording on, a recording starts by itself when a call starts in a supported app and stops when the call ends. To record anything else, choose the microphone and speakers in the Manual recording card at the top of the main window and press Start recording.
While a recording runs, that card shows the elapsed time, the file size, a level meter for each side of the call, and the buttons to mute, pause, resume and stop the recording.

Mute your side
The round microphone button left of Pause mutes your side of the recording, for example while you are muted in Zoom or Teams. Your side is recorded as silence and the other person is still recorded, so the recording keeps its full length. The button turns into a red crossed-out microphone and the status line reads "Recording, your mic is muted". Press it again to unmute.
Mute stays on when you pause and resume, and it is off again for the next recording. It does not follow the mute button of the call app, so switch it on separately. Mute works in the free version and in Pro.
General settings
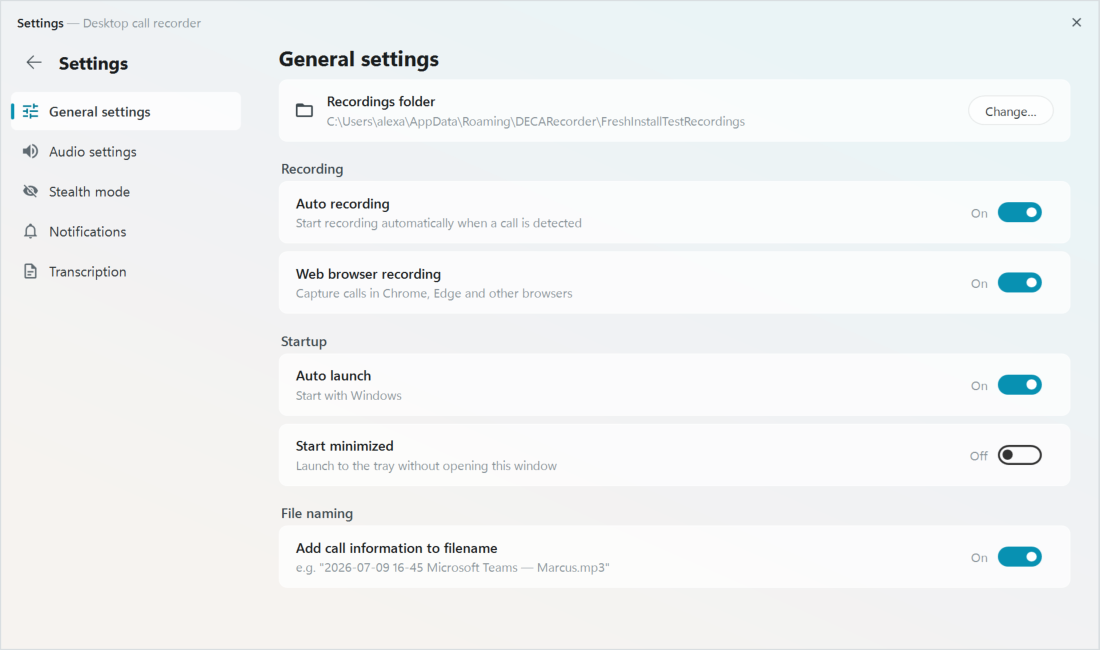
Recordings folder
Default: %APPDATA%\Desktop call recorder\Recordings\Desktop call recordings
This is where all recordings are saved. Press Change… to pick another folder.
Theme
Options: Navy (default), Teal and Dark.
Sets the colours of the app windows. Teal is the look of versions before 3.5, and Dark gives dark windows with light text. The change shows straight away in every open window, with no restart. The app icon stays navy with every theme.
Auto recording
Starts recording by itself when a call starts in any supported app, and stops when the call ends. On by default.
Web browser recording
Records calls in Chrome, Edge and other browsers, such as Google Meet, Microsoft Teams on the web and Discord. On by default.
Auto launch
Starts Desktop Call Recorder when Windows starts, so it is always ready for the next call. On by default for new installations.
Start minimized
Starts in the system tray without opening the main window.
Add call information to filename
Puts the contact's name, when it is known, and the app's name into the file name after the date and time. On by default for new installations.
Example: 2026_07_09 16-45-00 Marcus _ Microsoft Teams recording.mp3
If you rename the contact later, the file is renamed too. See search and rename.
Audio settings
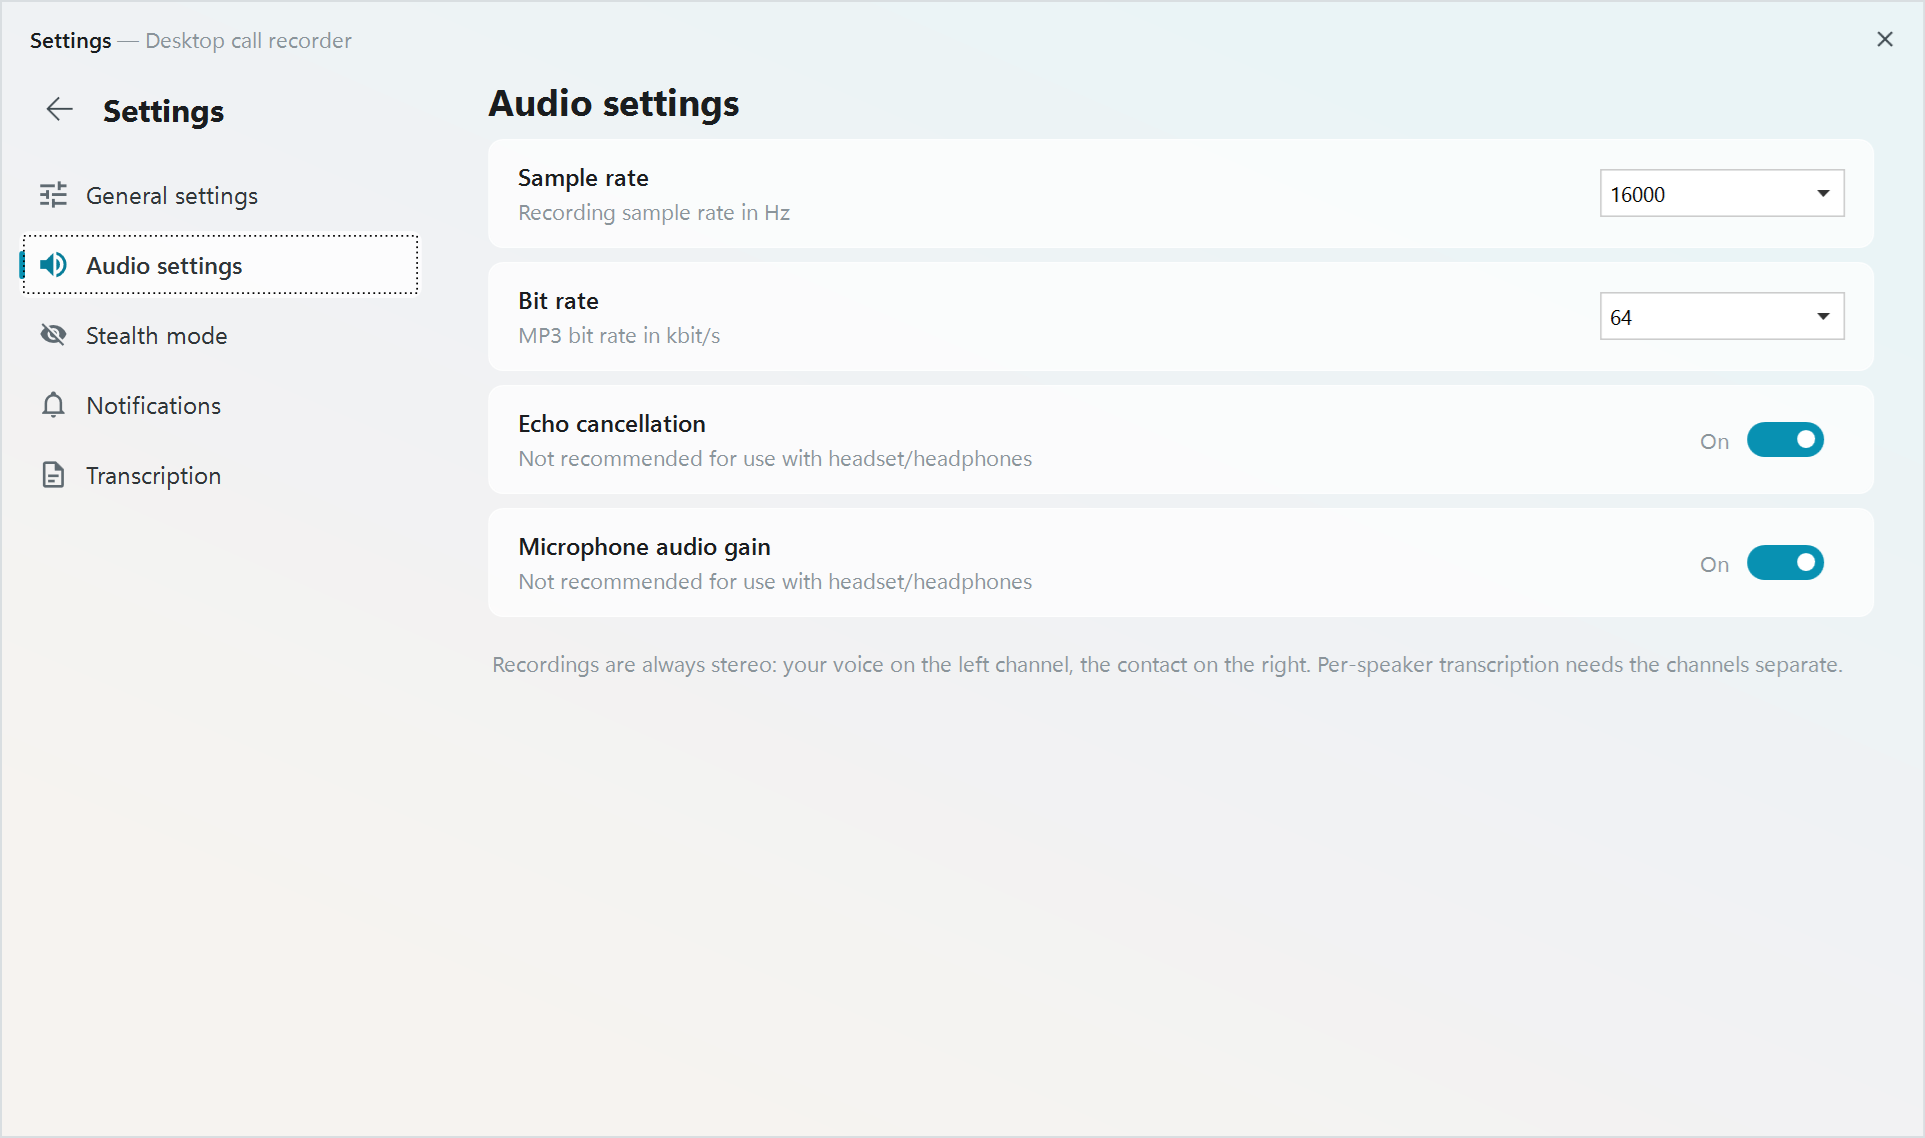
These settings set the quality and size of the MP3 files. The defaults suit speech and work well for most calls.
Sample rate
Options: 16000 Hz (default) and 44100 Hz.
16000 Hz is enough for voice calls and keeps files small. 44100 Hz is higher quality but speech rarely needs it.
Bit rate
Options: 32, 64 (default), 96 and 128 kbit/s.
A higher bit rate gives better quality and bigger files.
Always stereo
Recordings are always stereo: your voice on the left channel, the other person on the right. Keeping the two speakers apart is what lets the transcript label each of them, and you can listen to one side only in any media player.
Echo cancellation
Removes echo when you use built-in speakers or an open microphone. Off by default. Leave it off if you use a headset or headphones.
Microphone audio gain
Raises the microphone level so voices are at a similar volume across recordings. It helps with a quiet microphone or when you sit far from it. Off by default. As with echo cancellation, leave it off with a headset.
Playback device
Default: Windows default.
Chooses where recordings play in Desktop Call Recorder's own player. It does not change which devices are recorded. If the chosen device is not connected, the player uses the Windows default and goes back to your choice once the device is plugged in again. More about playback is on the player page.
Stealth mode (Pro)
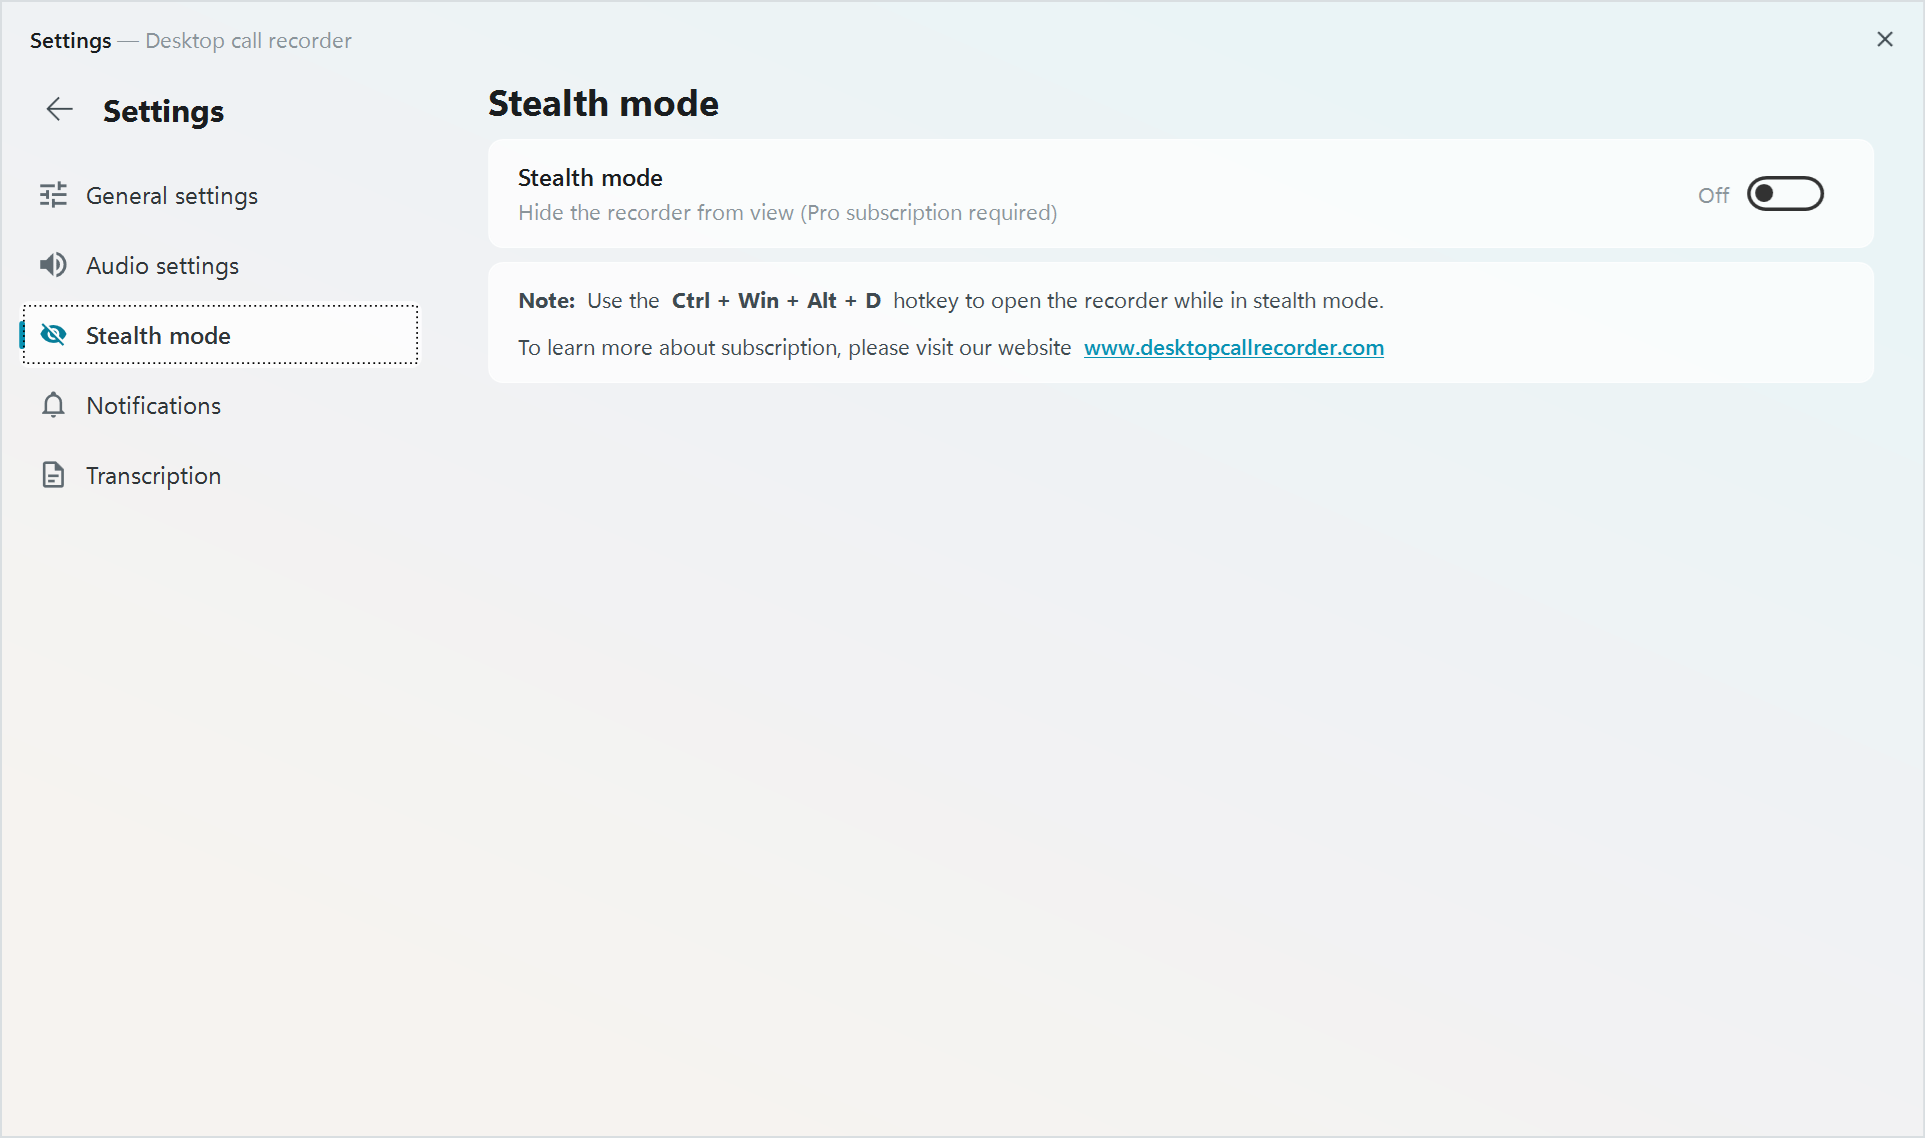
Stealth mode hides the recorder completely. There are no windows, no notifications and no icon in the system tray, so nothing shows that a call is being recorded.
When you switch it on, a confirmation window opens where you can set a password for opening the recorder.
To bring the recorder back while stealth mode is on, press Ctrl + Win + Alt + D.
Stealth mode needs a Pro subscription. You can get one at subscription.desktopcallrecorder.com.
Notification settings
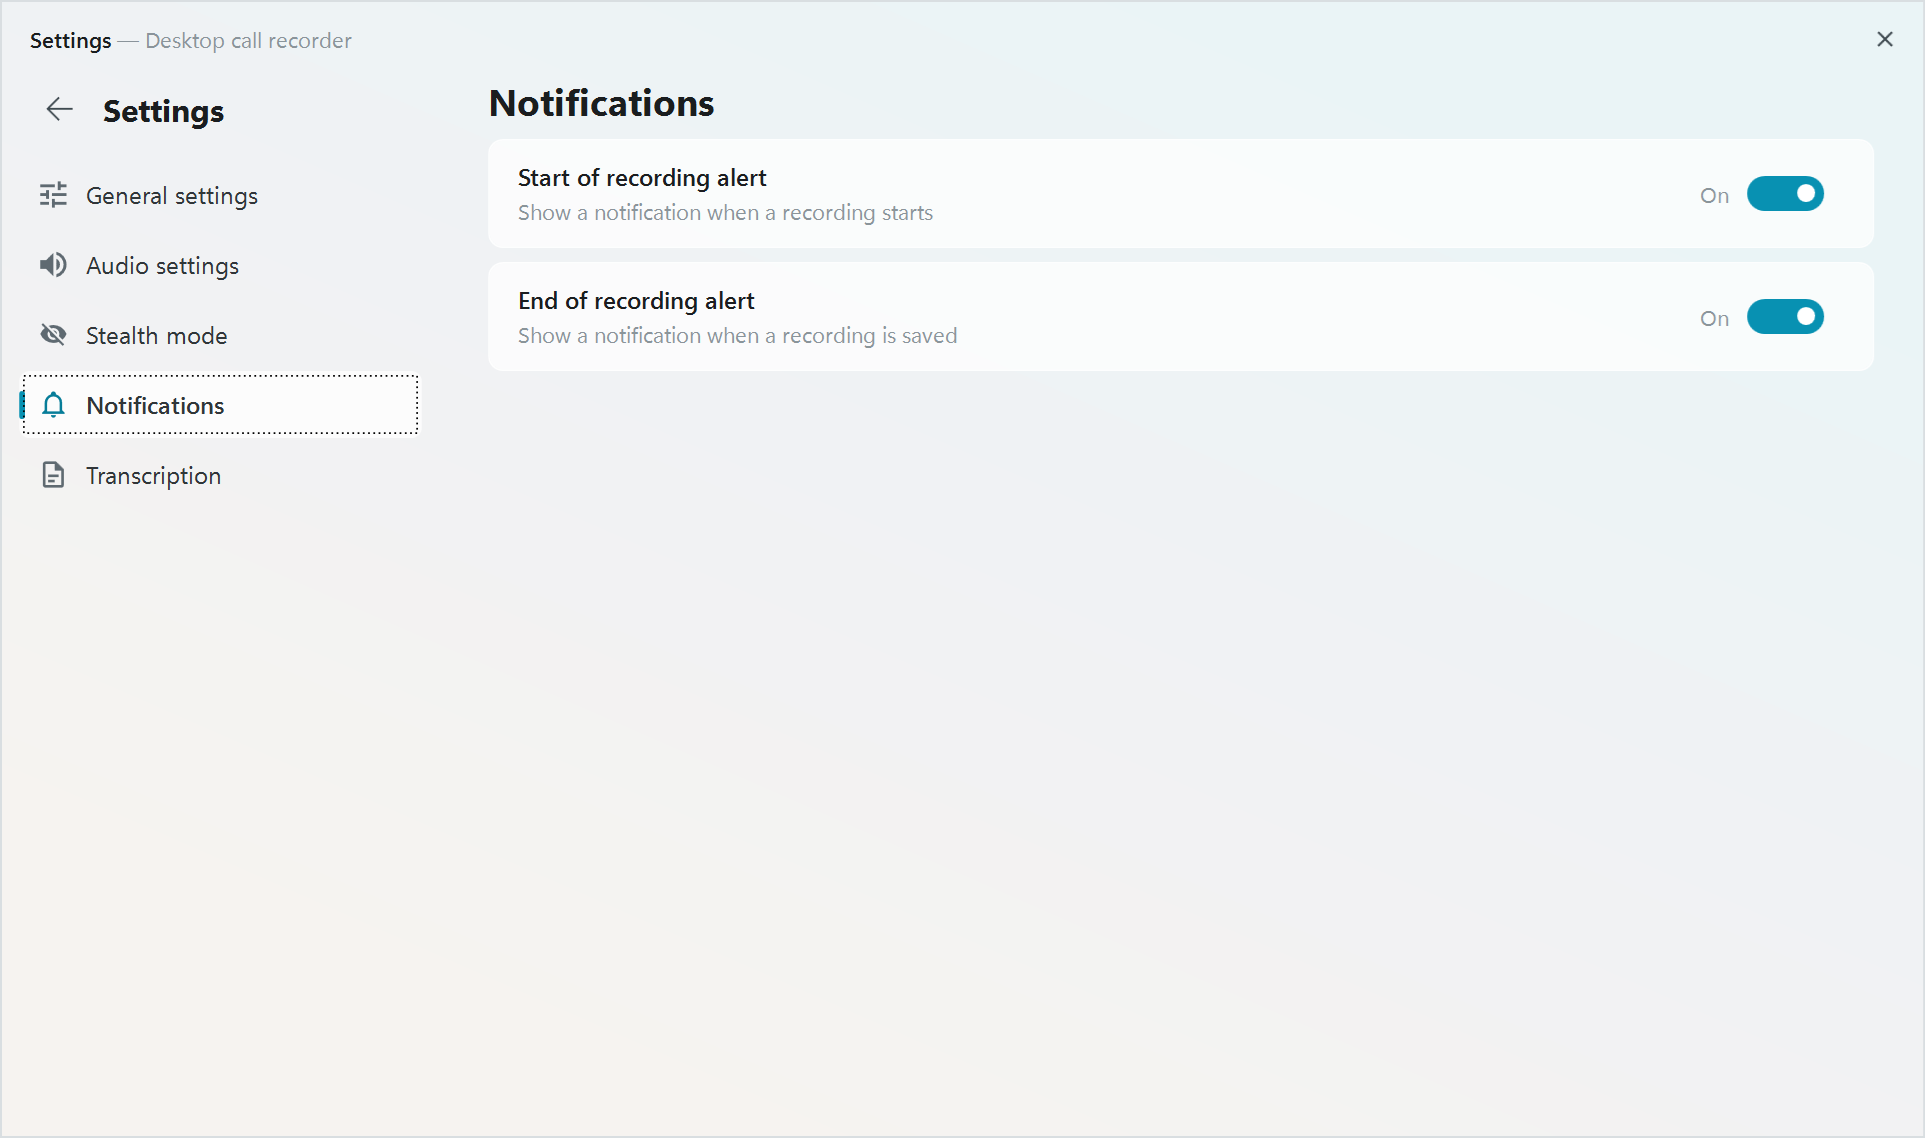
Start of recording alert
Shows a notification when a recording starts. On by default.
End of recording alert
Shows a notification when a recording is saved. On by default.
Transcription settings
Transcription has its own tab in Settings. The AI model, the language, your name in transcripts and automatic transcription are explained in the transcription manual.